


这次给大家带来react bootstrap框架如何使用,使用react bootstrap框架的注意事项有哪些,下面就是实战案例,一起来看一下。
安装
【相关视频推荐:Bootstrap教程】
在终端cd到你的项目目录下执行:$ npm install react-bootstrap
然后需要我们手动引用css
<!-- Latest compiled and minified CSS -->
<link rel="stylesheet" href="https://maxcdn.bootstrapcdn.com/bootstrap/latest/css/bootstrap.min.css">
<!-- Optional theme -->
<link rel="stylesheet" href="https://maxcdn.bootstrapcdn.com/bootstrap/latest/css/bootstrap-theme.min.css">
但是我们在学习的时候使用外部的URL,太慢了。因此我们索引把bootstrap安装到本地。
$ npm install bootstrap
然后你会发现在你的node_modules目录下多了bootstrap。
这样页面上就可以引用本地的css了
<link rel="stylesheet" type="text/css" href="node_modules/bootstrap/dist/css/bootstrap.min.css" rel="external nofollow" rel="external nofollow" >
好,我们动手来使用一下React-BootStrap框架吧
http://react-bootstrap.github.io/components.html
我们这里演示使用它的导航条组件
在index.js里:
const React = require("react");
const ReactDOM = require("react-dom");
import {Navbar} from "react-bootstrap";
const navbarInstance = (
  <Navbar>
    <Navbar.Header>
      <Navbar.Brand>
        <a href="#" rel="external nofollow" >react-bootstrap</a>
      </Navbar.Brand>
    </Navbar.Header>
  </Navbar>
);
// 然后我们渲染到body里
ReactDOM.render(navbarInstance,document.body);
html页面上:
<!DOCTYPE html>
<html>
<head>
  <title>es2105的写法</title>
  <meta charset="utf-8">
  <link rel="stylesheet" type="text/css" href="node_modules/bootstrap/dist/css/bootstrap.min.css" rel="external nofollow" rel="external nofollow" >
</head>
<body>
<p id="abc"></p>
</body>
  <script src="webpack-dev-server.js"></script>
  <script src="index-webpack.js"></script>
</html>
效果如下:
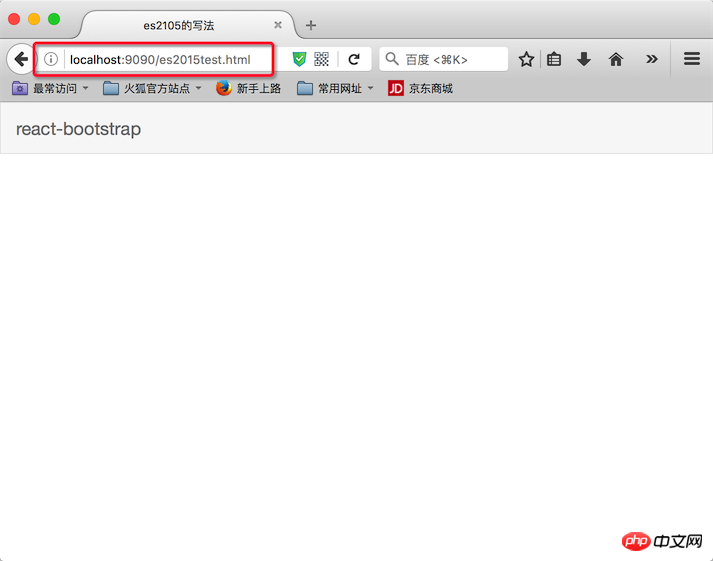
主要看浏览器地址,这是我们前面配置的”热启动”。
执行命令 $ npm start 就开启了服务
相信看了本文案例你已经掌握了方法,更多精彩请关注php中文网其它相关文章!
推荐阅读:

ViaooChain 维奥连锁招商网站系统
下载
网站功能资讯模块资料模块会员模块产品展示模块产品订购模块购物车模块留言模块在线加盟模块多级后台管理系统网站环境本系统为 asp.net开发donet版本为1.1框架数据库为acdess2000授权方式为免费,本版本本地可直接运行(使用http://localhost或http://127.0.0.1访问)如需放到外网通过域名访问,则需通过qq联系我免费索取钥匙文件,将钥匙文件放到网站空间根目录即可


